
How to paint iron: a complete guide from rust removal to finishing
Painting an iron item may seem straightforward, but achieving an attractive and, above all, long-lasting finish requires proper surface preparation and the right products.
Whether it is a railing, a gate, a metal structure, a piece of garden furniture or a small iron item, the secret to a good paint finish is not just the final coat of enamel, but everything applied beforehand.
In this guide, the experts at Net Coatings ti will guide you step by step through preparing and painting iron, with a process suitable for DIY enthusiasts too.
1. Check the condition of the iron: is there any rust?
Before starting any work, it is essential to check the condition of the item.
Iron, especially when exposed to moisture and the elements, tends to oxidize, developing what we commonly call rust.
Surface preparation varies depending on the extent and depth of the corrosion present.
Case A: iron with light surface rust
If the item has only small spots of surface oxidation, sanding will be sufficient in most cases.
Using sandpaper suitable for metal, remove all rust until you reach a clean, sound metal surface.
For this task, use a grit roughly between P80 and P180, depending on the condition of the surface.
The aim is to remove oxidation and prepare a suitable surface for applying the anti-corrosion primer.
Our recommendation: don't just sand the rusty spot. Check the surrounding areas as well, making sure any old paint is still firmly bonded to the surface.
👉 Discover our sandpaper for iron and metal
Case B: Iron with widespread or particularly deep rust
When rust affects larger areas of the item or has penetrated irregularities in the metal surface, sanding alone may not be enough.
In this case, we recommend:
-
Remove as much rust as possible by sanding or mechanical brushing.
-
Completely remove any loose material and any remaining old paint that is not firmly adhered.
-
Thoroughly clean the surface to remove dust and contaminants.
-
If stubborn rust remains that is difficult to remove mechanically, apply a rust converter compatible with the subsequent painting process.
The rust converter is a specially formulated product that chemically reacts with residual rust, transforming it into a more stable layer and preparing it for subsequent treatments.
is important to remember that the rust converter does not replace mechanical surface preparation: the more loose rust is removed before treatment, the better the condition of the substrate will be.
Which rust converter should you choose?
At Net Coatings, you will find a range of solutions to suit the size of your item and your preferred application method.
Rust converter spray
Ideal for small jobs, touch-ups, and surfaces that are difficult to reach with a brush.
👉 Buy ROLMA Rust Away, 400 ml rust converter spray
Brush-on rust converter
Particularly suitable for larger items and maintenance work where direct control over application is desired.
👉 Discover MEGASID 1 kg Rust Converter
How long should you wait after application?
As a guideline, the specified converters have a drying or recoating time of approximately 24 hours, under suitable environmental conditions.
The actual time depends on the product used, the temperature and the thickness applied. Always check the relevant technical data sheet: some converters also require overcoating within a specified maximum time.
2. Prepare and clean the surface before applying primer
Once the rust has been removed or treated, the item must be ready for priming.
Before proceeding, check that the surface is:
-
Dry and free from moisture.
-
Free of dust and sanding residue.
-
Free from grease, oil, silicone and other contaminants.
-
Stable, with no flaking paint or rust.
We always recommend using a silicone remover for the pre-painting preparation of every item, ensuring that it evaporates completely before applying the next product.
👉 Buy Megasid Silicone Remover
Warning: anche the best primer can lose adhesion if applied to a dirty or contaminated surface.
3. Applying epoxy primer: the foundation for a durable paint finish
Once preparation is complete, one of the most important stages of the entire process begins: application of the anti-corrosion primer.
For painting iron, we recommend, where compatible with the substrate and the topcoat, using a epoxy primer.
Why choose an epoxy primer?
The epoxy primer serves two essential functions:
Anti-corrosion protection: helps protect the metal from agents that promote rust formation.
Membership promotion: creates a suitable base for subsequent coats of paint, improving the adhesion of the protective coating system.
A properly prepared coating system applied using compatible products can help significantly extend the life of the finish.
Epoxy primer: spray or can?
The choice depends mainly on the size of the item and the equipment available.
Epoxy primer spray
is a practical solution for small items, spot repairs, and jobs where a spray gun is not available.
Our MEGASID Epoxy Primer Spray 400 ml is available in white, black, gray, and beige.
👉 Discover MEGASID Epoxy Primer Spray 400 ml
Epoxy primer in a can
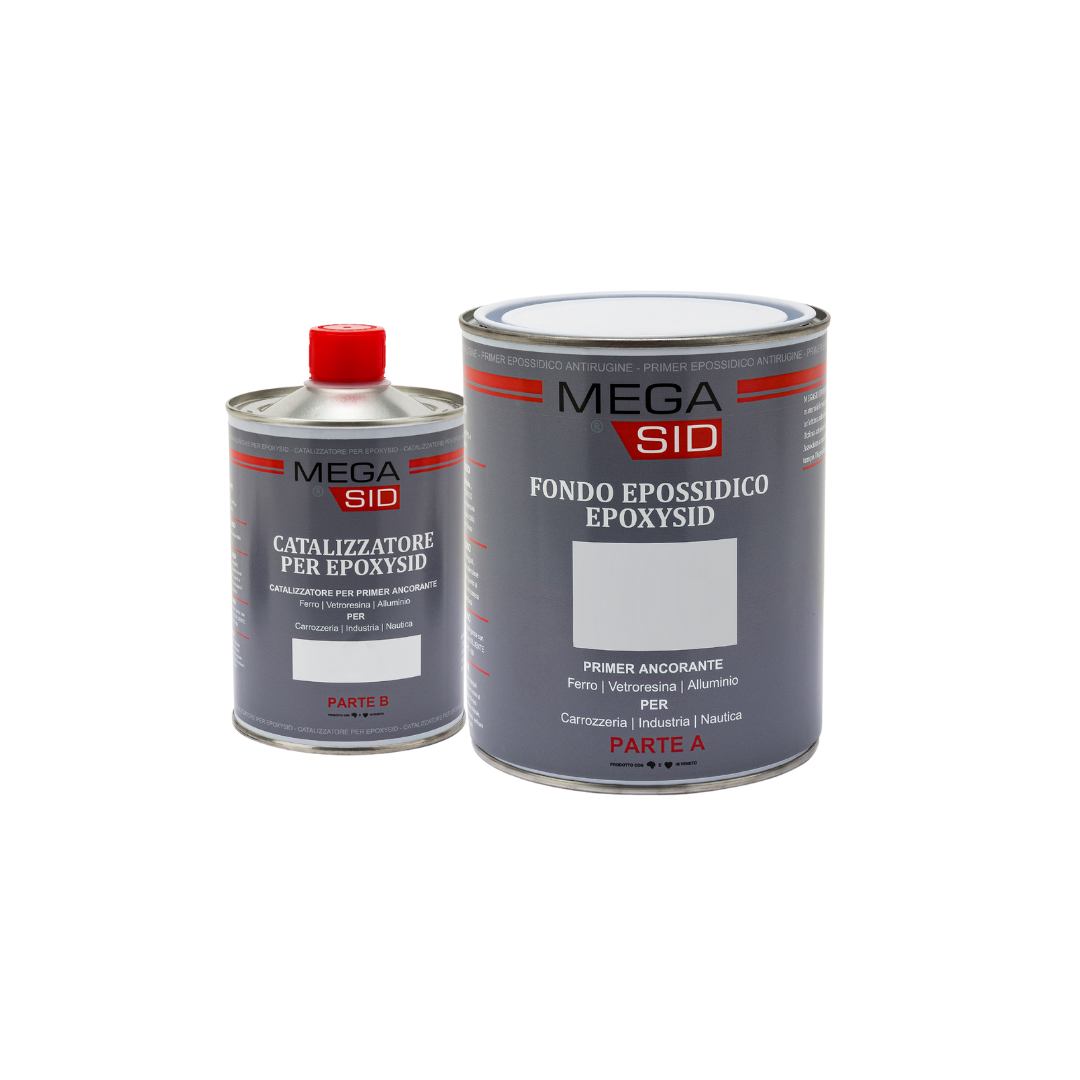
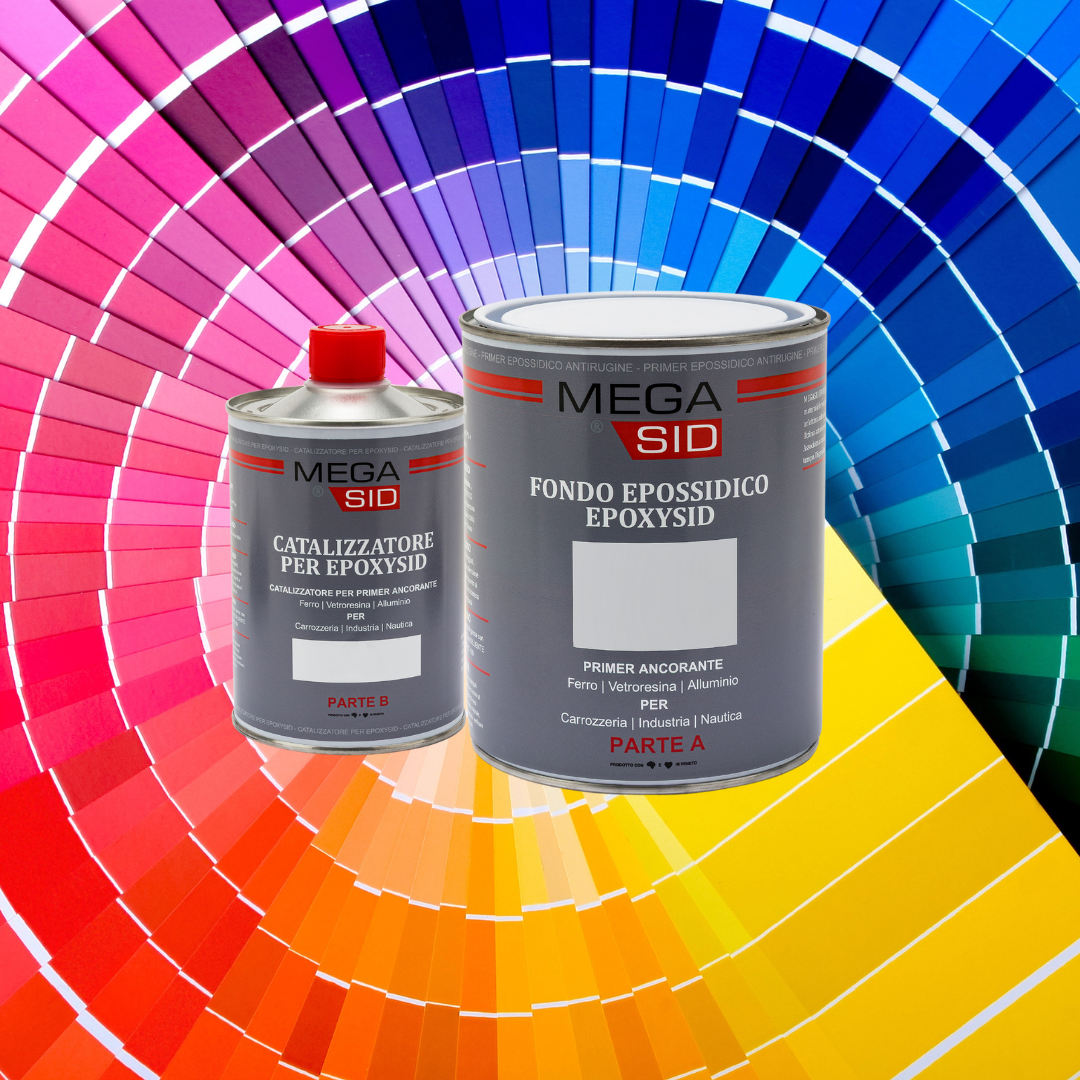
For larger surfaces or projects requiring greater application versatility, we recommend MEGASID EPOXYSID two-component epoxy primer.
can be applied by brush, roller or spray, in accordance with the technical instructions, and is available in a range of colours.
As a two-component product, it must be properly mixed with the appropriate catalyst, which is included in the available kits.
👉 Discover MEGASID EPOXYSID, a two-component epoxy primer
Net Coatings' advice: choose the primer color based on the enamel paint you will apply afterward. A suitably tinted primer can improve coverage and help achieve a more uniform finish.
4. Allow the epoxy primer to dry, then sand
Once the primer has been applied, allow it to dry for the time specified by the manufacturer before proceeding with further work.
Per the specifications for MEGASID epoxy spray primer, for example, full drying takes approximately 24 hours at 25 °C.
For the EPOXYSID two-component epoxy primer, however, the stated through-drying time is approximately 48 hours at 25 °C.
Times vary depending on the product, environmental conditions, and the thickness applied.
Does the primer need to be sanded before applying the enamel paint?
Not always. Some epoxy primers already have excellent leveling properties and can be overcoated without sanding, provided the intervals and conditions specified in the technical data sheet are observed.
If, however, you wish to achieve a more visually uniform surface or remove minor imperfections, light sanding may be helpful.
For this operation, we generally recommend a sandpaper P320 or P400, for use on a sufficiently dry surface suitable for sanding.
The aim is not to remove the primer, but to smooth its surface without exposing the underlying metal again.
Once sanding is complete, thoroughly remove all dust residue.
5. Apply the enamel paint: the final finish for the iron piece
At this stage, the item is ready for the final coat of paint, provided that the recoating requirements are met and the primer and enamel are compatible.
The finish is the most visible layer of the coating system, determining the color, gloss level, and a significant part of the surface durability.
But which enamel paint should you choose for painting iron?
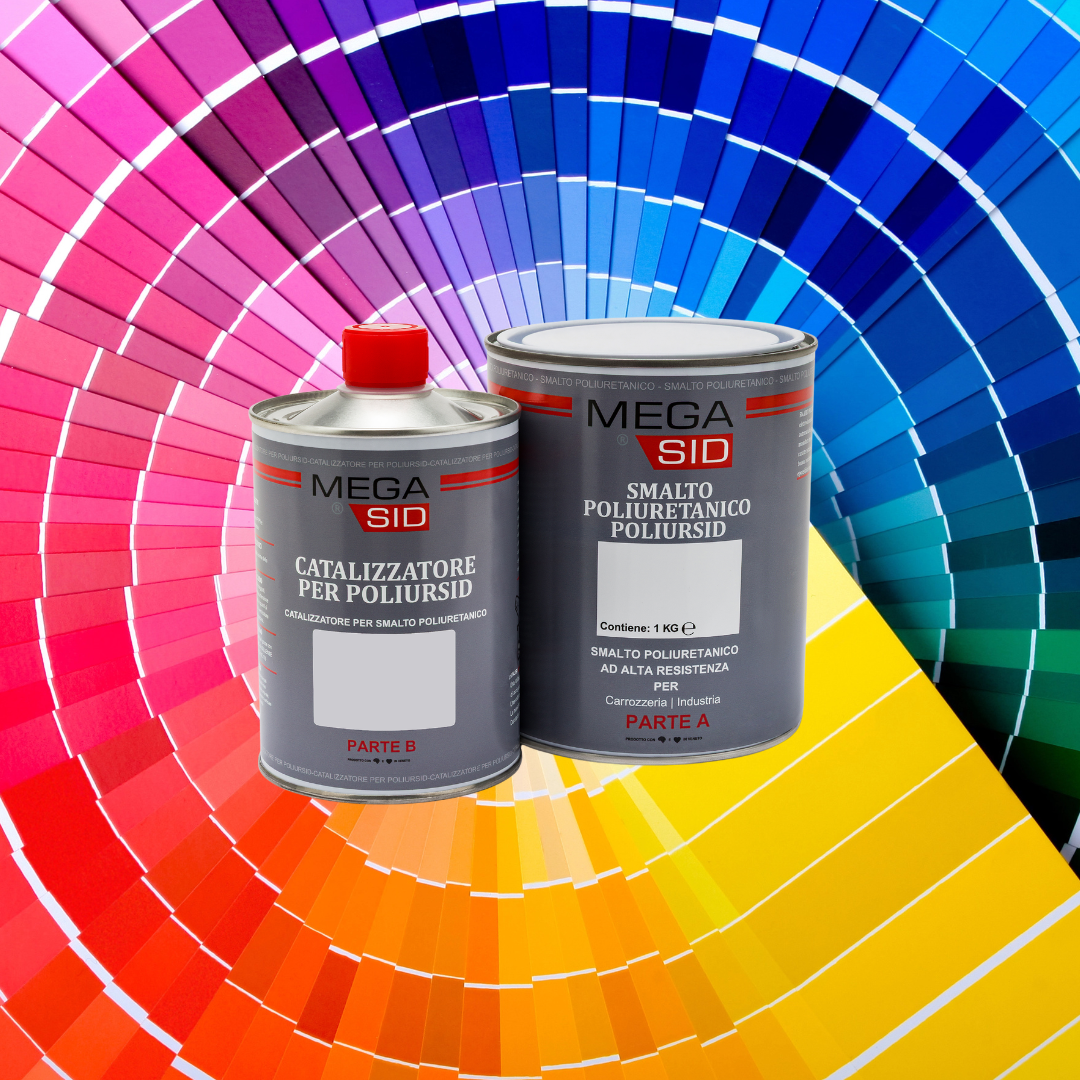
There are many options: synthetic, acrylic, polyurethane and two-component enamels, as well as water-based and solvent-based products, each with different properties and performance characteristics.
The choice depends on several factors, including:
-
For indoor or outdoor use.
-
Exposure to rain, humidity and UV rays.
-
Required mechanical and chemical resistance.
-
Desired finish: polished, satin or matte.
-
Application method: brush, roller, aerosol can or spray gun.
Each type offers specific benefits and features, and it is important to choose a finish compatible with the primer used.
We will dedicate an upcoming article specifically to choosing nail polish, comparing the main technologies and helping you identify the one best suited to your project.
6. The most common mistakes when painting iron
Even with a proper painting process, certain mistakes can compromise the results.
Paint directly over loose rust. If the surface is not properly prepared, corrosion can continue to develop beneath the coating.
Do not clean the item thoroughly. Dust, oils and grease can prevent the primer from adhering.
Skip the epoxy primer. A decorative finish alone does not necessarily provide the protection of a coating system consisting of a primer and enamel.
Not observing drying and recoating times. Applying a subsequent coat too soon, or after the recommended recoating window without proper preparation, can cause adhesion and finish problems.
Use incompatible products. Not all paints are compatible with every primer or rust converter.
Working in unsuitable environmental conditions. Temperatures that are too low, high humidity, and condensation can adversely affect drying and the quality of the result, while temperatures that are too high can irreparably damage the finished pieces.
Always consult the technical and safety data sheets before using chemicals or paints, work in a well-ventilated area, and wear the required protective equipment. Appropriate respiratory protection is particularly important for spray applications.
Conclusion: a good paint job starts with preparation
Painting an iron item correctly is not simply a matter of choosing an attractive colour and applying it.
The quality of the result depends primarily on surface preparation, rust treatment, and the choice of a suitable anti-corrosion primer.
Following these steps will ensure a more reliable coating process, enhancing the appearance of the finished item and helping to protect it over time.
Not sure which products to use?
Su Net Coatings you will find abrasives, rust converters, epoxy primers and enamels for painting iron.
Our team can help you choose a coating system suited to your product's characteristics and the environment in which it will be used.
👉 Discover all products on Net Coatings
In the next article: Which enamel paint should you choose for iron? Differences between epoxy, acrylic and polyurethane enamels.